-2-(3).png)
How to Set a Default Overlay for Each Magnet Type
If your event offers multiple magnet types, you can choose a default overlay for each one.
This helps you keep the right design ready for each product and reduces the need to select an overlay manually during the event.
Step 1. Open Text & Overlays
Open the event you want to edit.
Go to Text & Overlays.
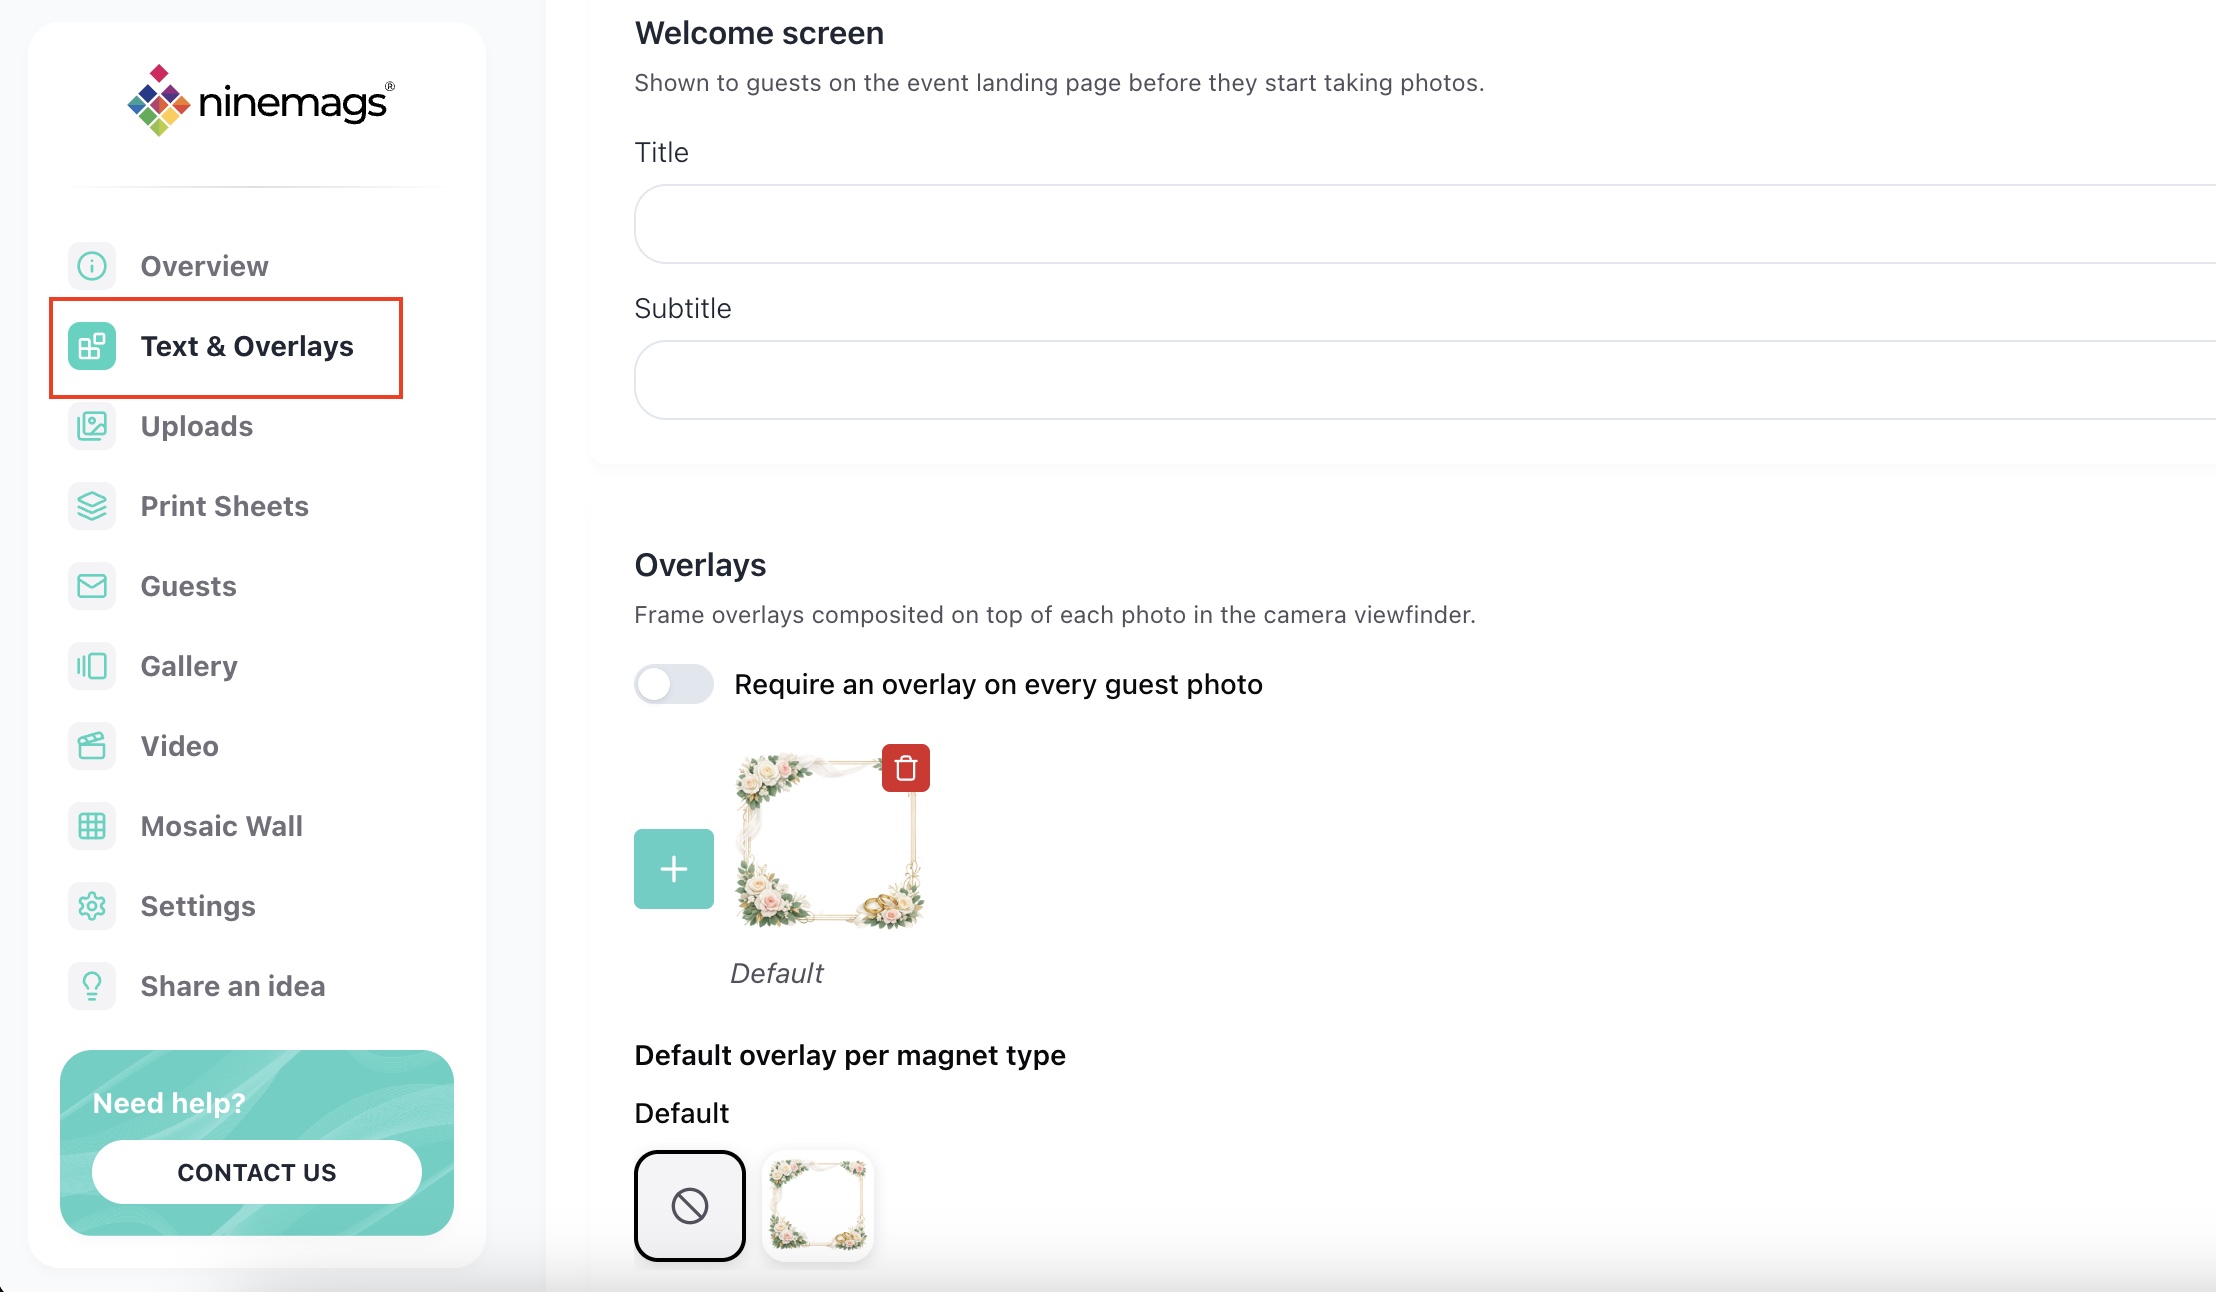
Step 2. Find the Overlays Section
Scroll to the Overlays section.
Here you can see the overlays currently added to the event.
If you need to add another overlay, click the + button.
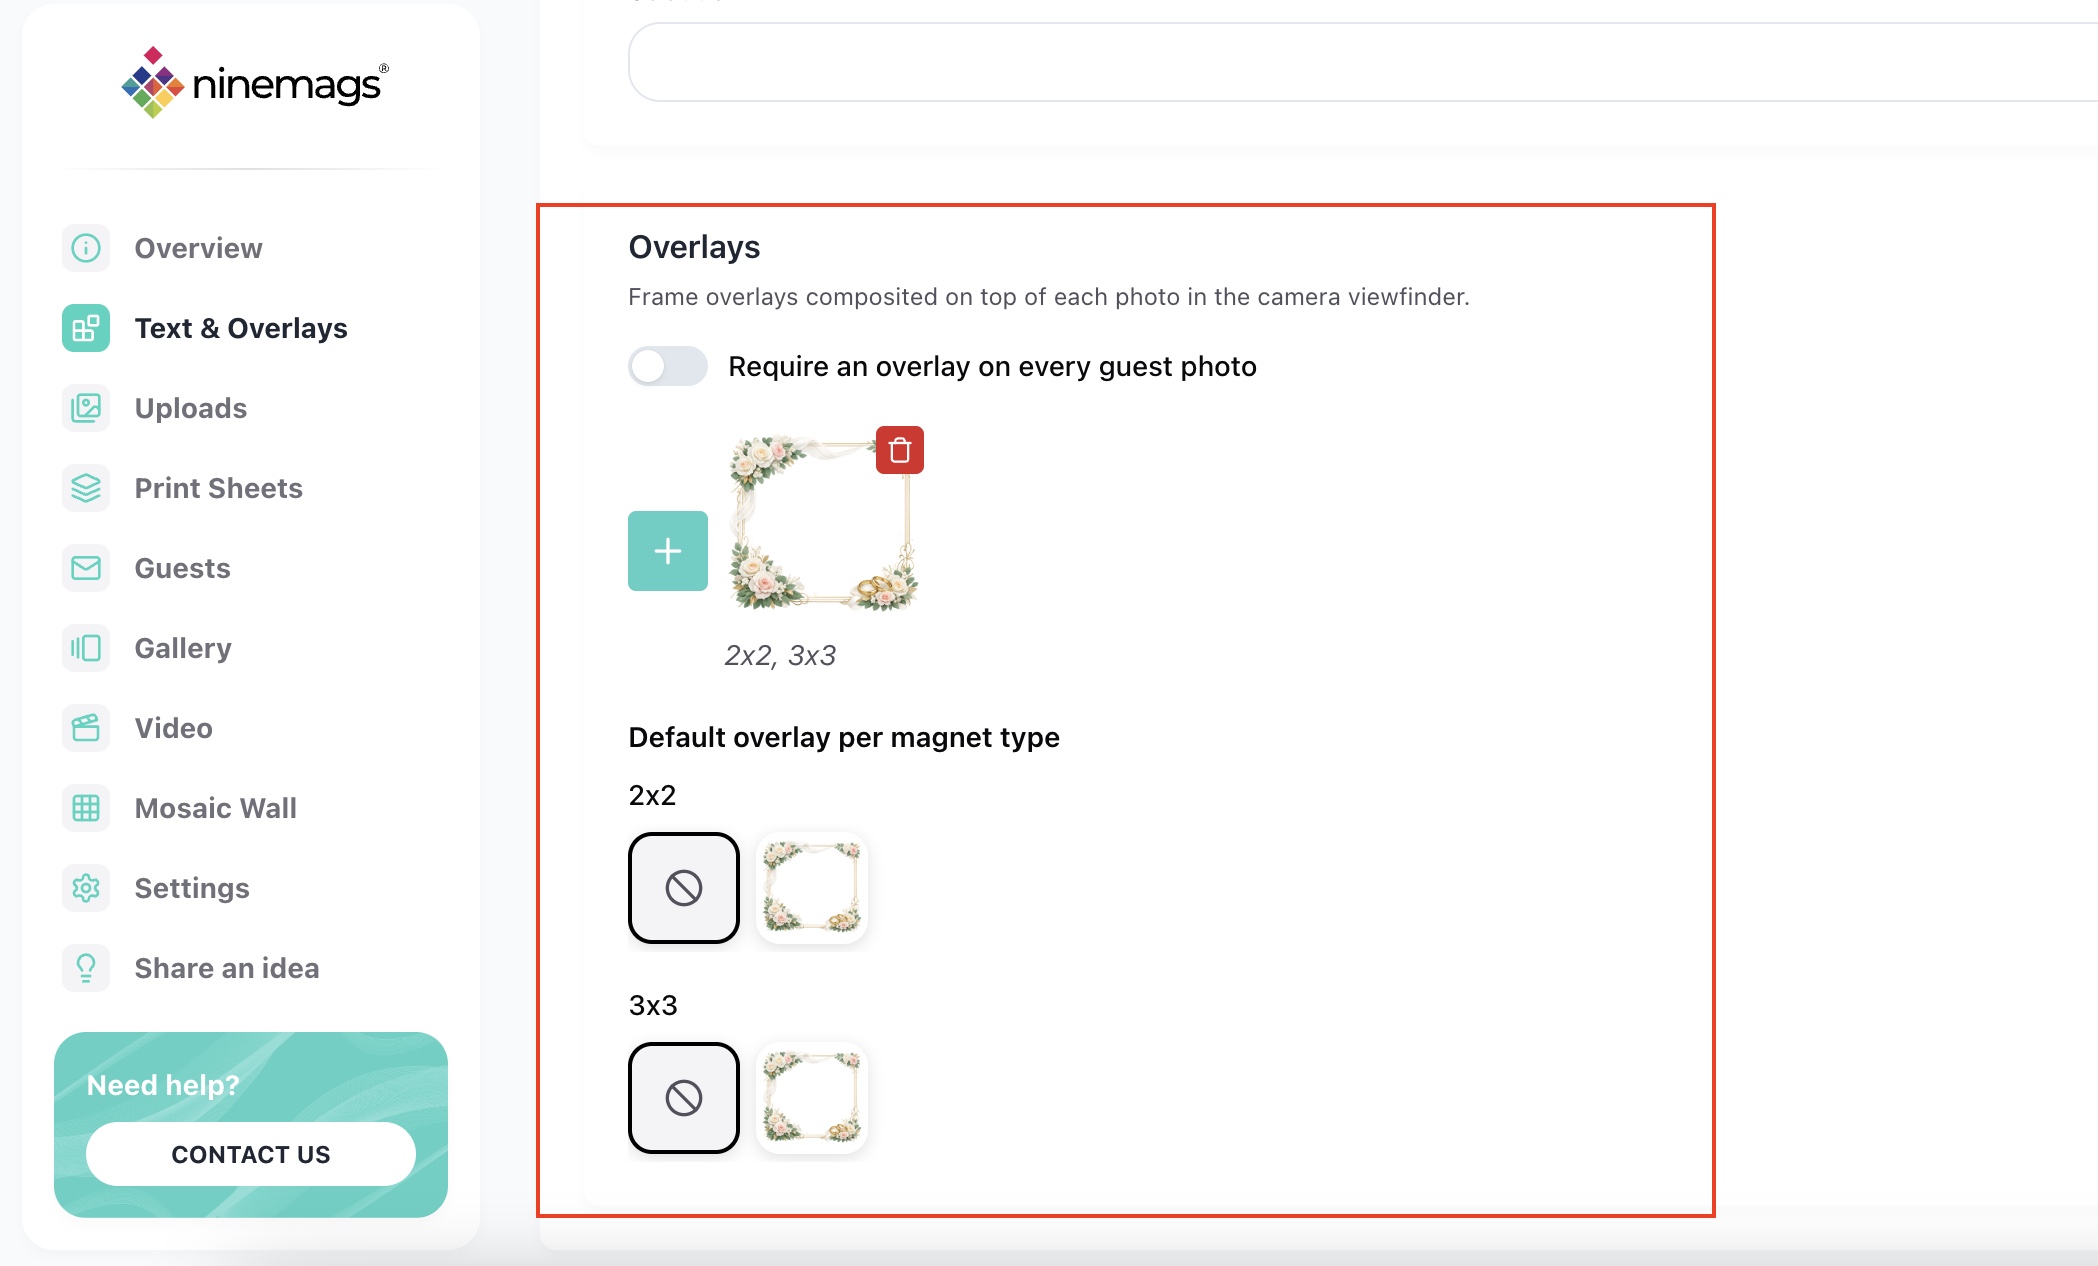
Step 3. Choose a Default Overlay
Under Default overlay per magnet type, find the magnet type you want to customize.
Click the overlay you want to use as the default for that magnet type.
The selected overlay will be highlighted.
Your choice is saved automatically — there is no separate Save button.
Step 4. Repeat for Other Magnet Types
If your event includes several magnet types, repeat the same step for each one.
You can use a different default overlay for every magnet type.
NINEMAGS will show the overlays that fit each magnet type, so you can choose the right overlay for each one.
Done!
Each magnet type can now have its own default overlay.
This makes it easier to work with multiple products in the same event and helps keep the right design selected for each one.