-2-(3).png)
How to Add Multiple Magnet Types to a NINEMAGS Live Event
You can add multiple magnet types to one NINEMAGS®️ Live Event. This allows your guests to choose between different shapes, sizes, or products when uploading their photos.
Before You Start
- Create or open a NINEMAGS®️ Live Event.
- Prepare the image, label, and description for each magnet type you want to offer.
Step 1. Open Your Event
- Open NINEMAGS®️ Live.
- Go to Events.
- Select the Event you want to edit.
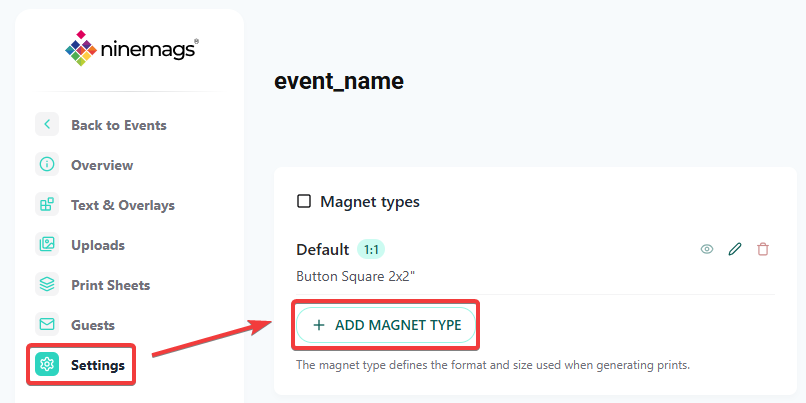
- Open Settings in the left-side menu.
- Find the Magnet Types section.
-
Click Add Magnet Type.
Step 2. Configure the New Magnet Type
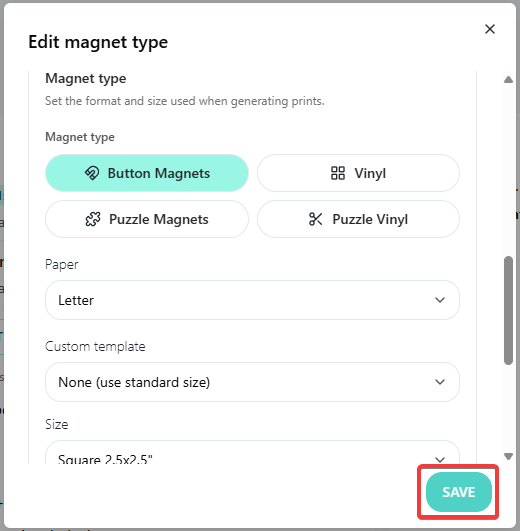
- In the window that opens, configure the new magnet type based on your needs.
- When you’re done, click Save to add it to your Event.
Repeat these steps for every magnet type you want to add.
For example, you can offer both round and square magnets in the same Event.
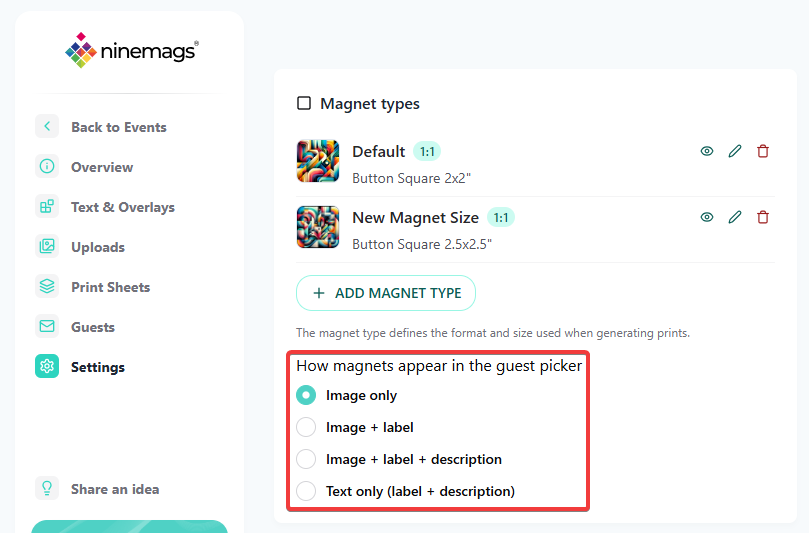
Step 3. Choose How Magnet Types Are Displayed
Select how the magnet types will appear to your guests:
- Image Only
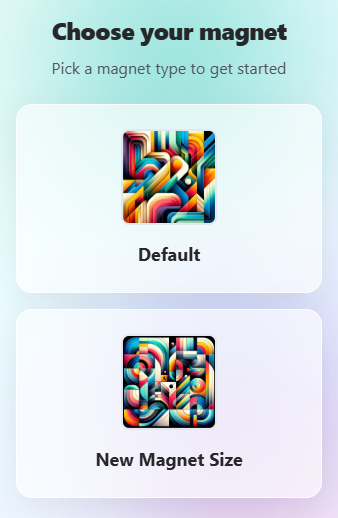
- Image and Label
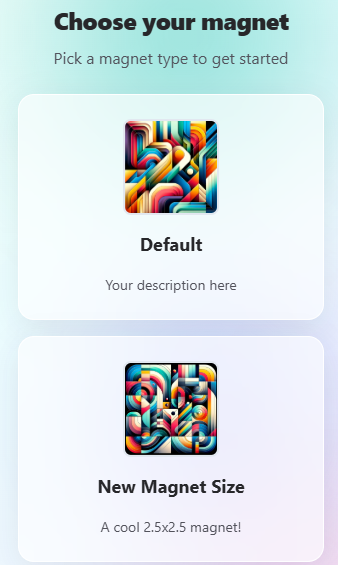
- Image, Label, and Description
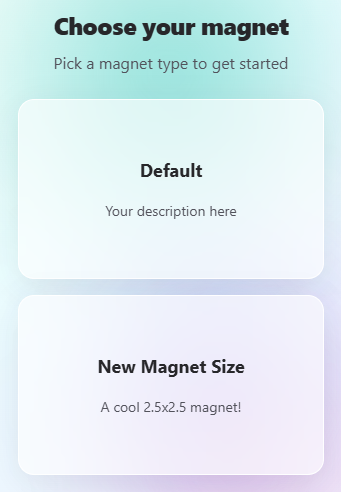
- Label and Description Only
Guests will see the available options and select the magnet type they want when uploading their photos.
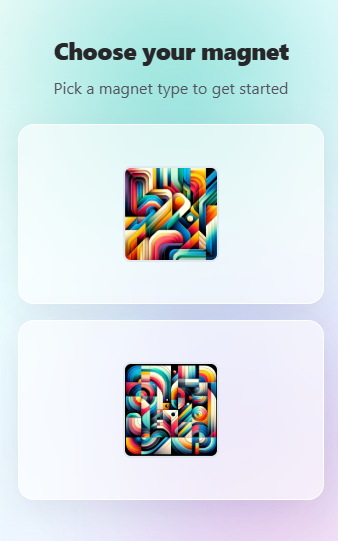
Below are examples of how they will appear with each option:
-
Image only
-
Image + label
-
Image + label + description
-
Text only (label + description)
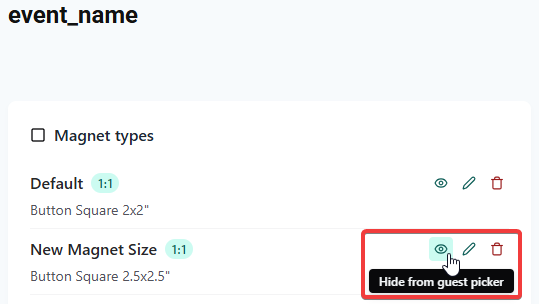
Optional: Show or Hide a Magnet Type
To temporarily hide a magnet type from guests, click the eye icon next to it.
The magnet type will disappear from the Event page, but its settings will remain saved. Click the eye icon again to make it visible.
Done!
Guests can now choose between the available magnet types when uploading their photos.
You can offer different shapes, sizes, or products without creating a separate event for each option.