-2-(3).png)
How to Upload Photos Directly to an Event
If a photographer or event organizer is taking the photos, you can upload them directly to the event instead of asking guests to upload the photos themselves.
This is useful when you want to manage all event photos from one place and keep the upload process under your control.
Step 1. Open the Event
Open the event where you want to upload the photos.
Go to the Uploads tab.
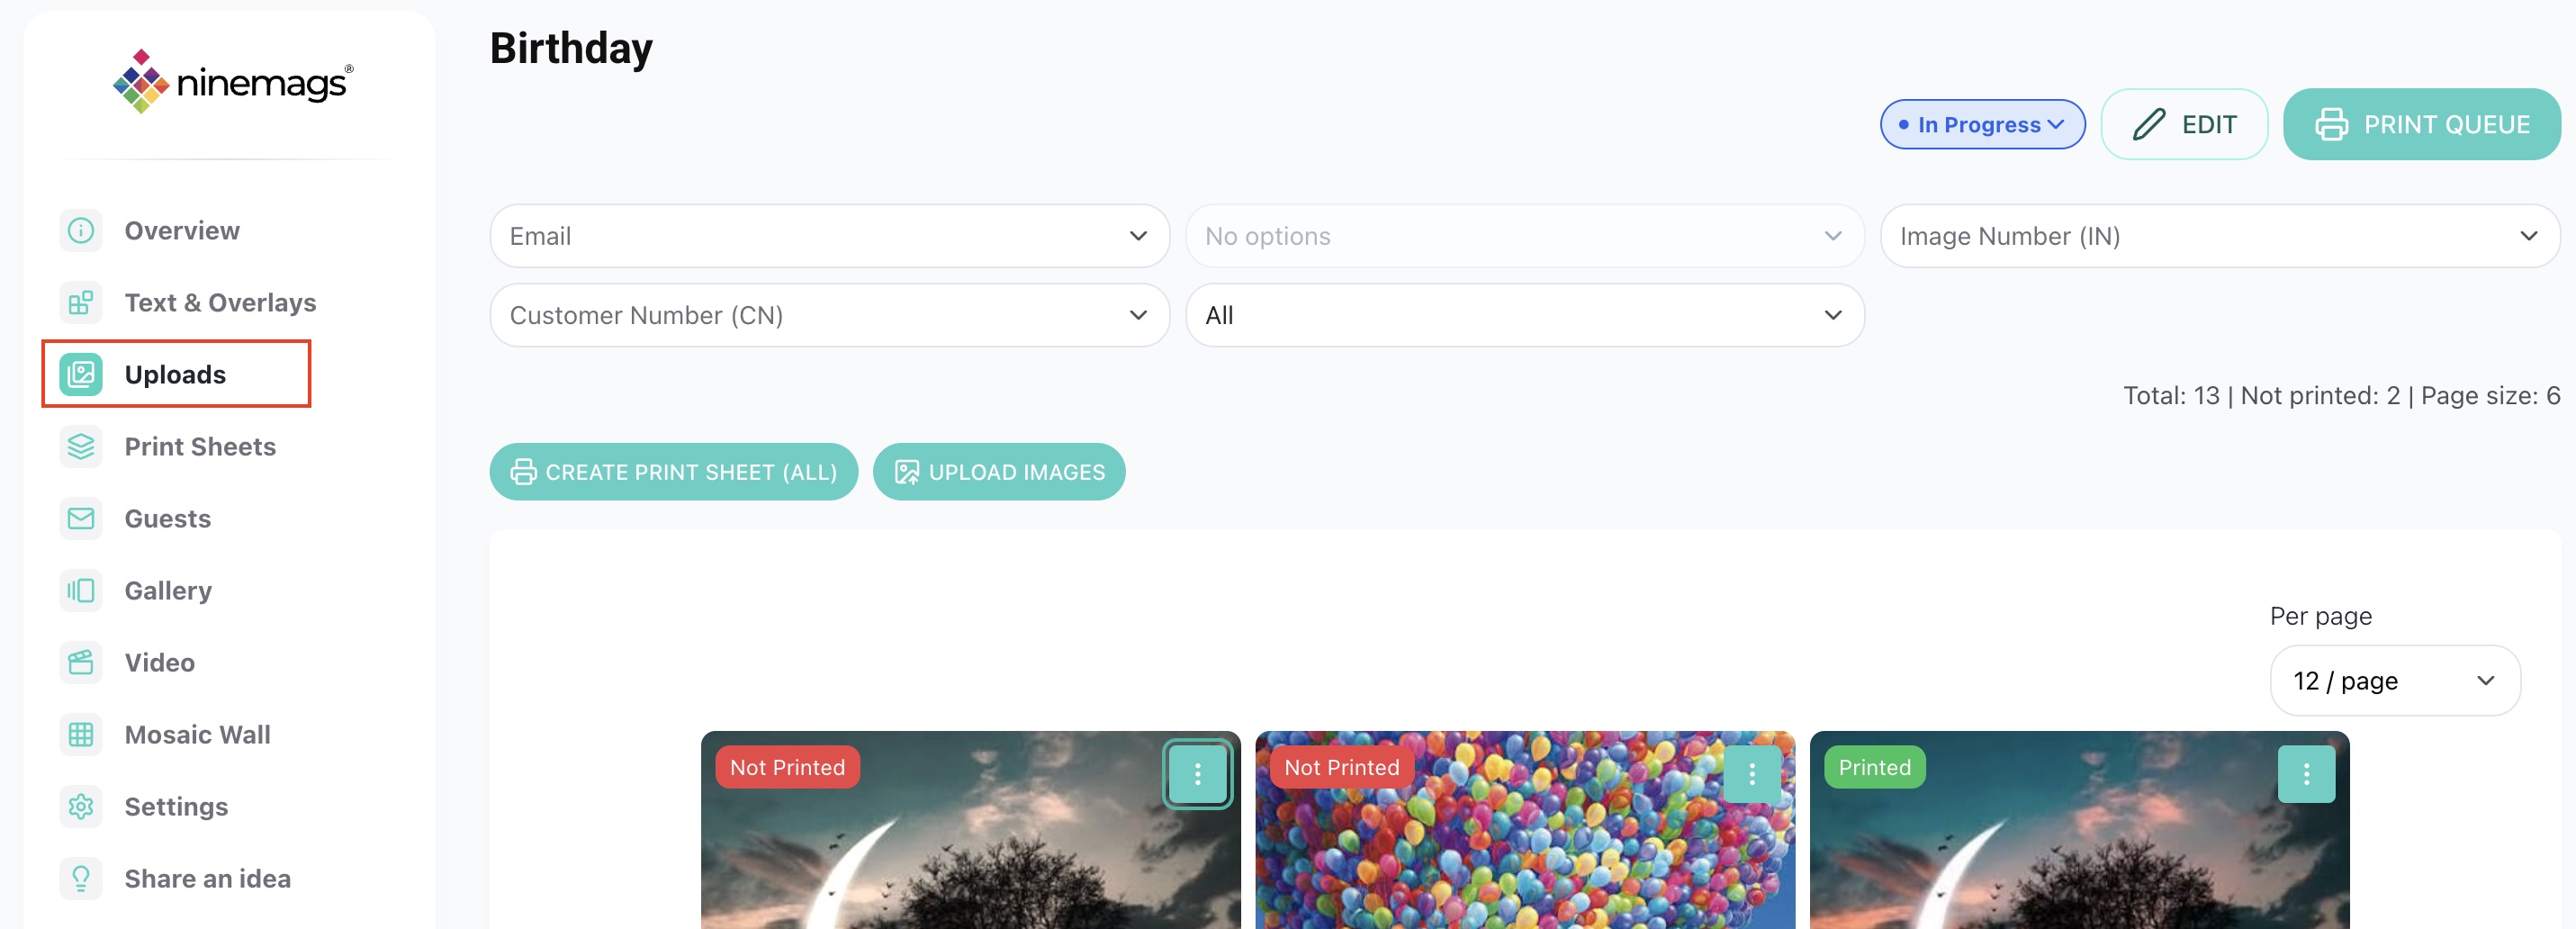
Step 2. Click Upload Images
In the Uploads section, click Upload Images.
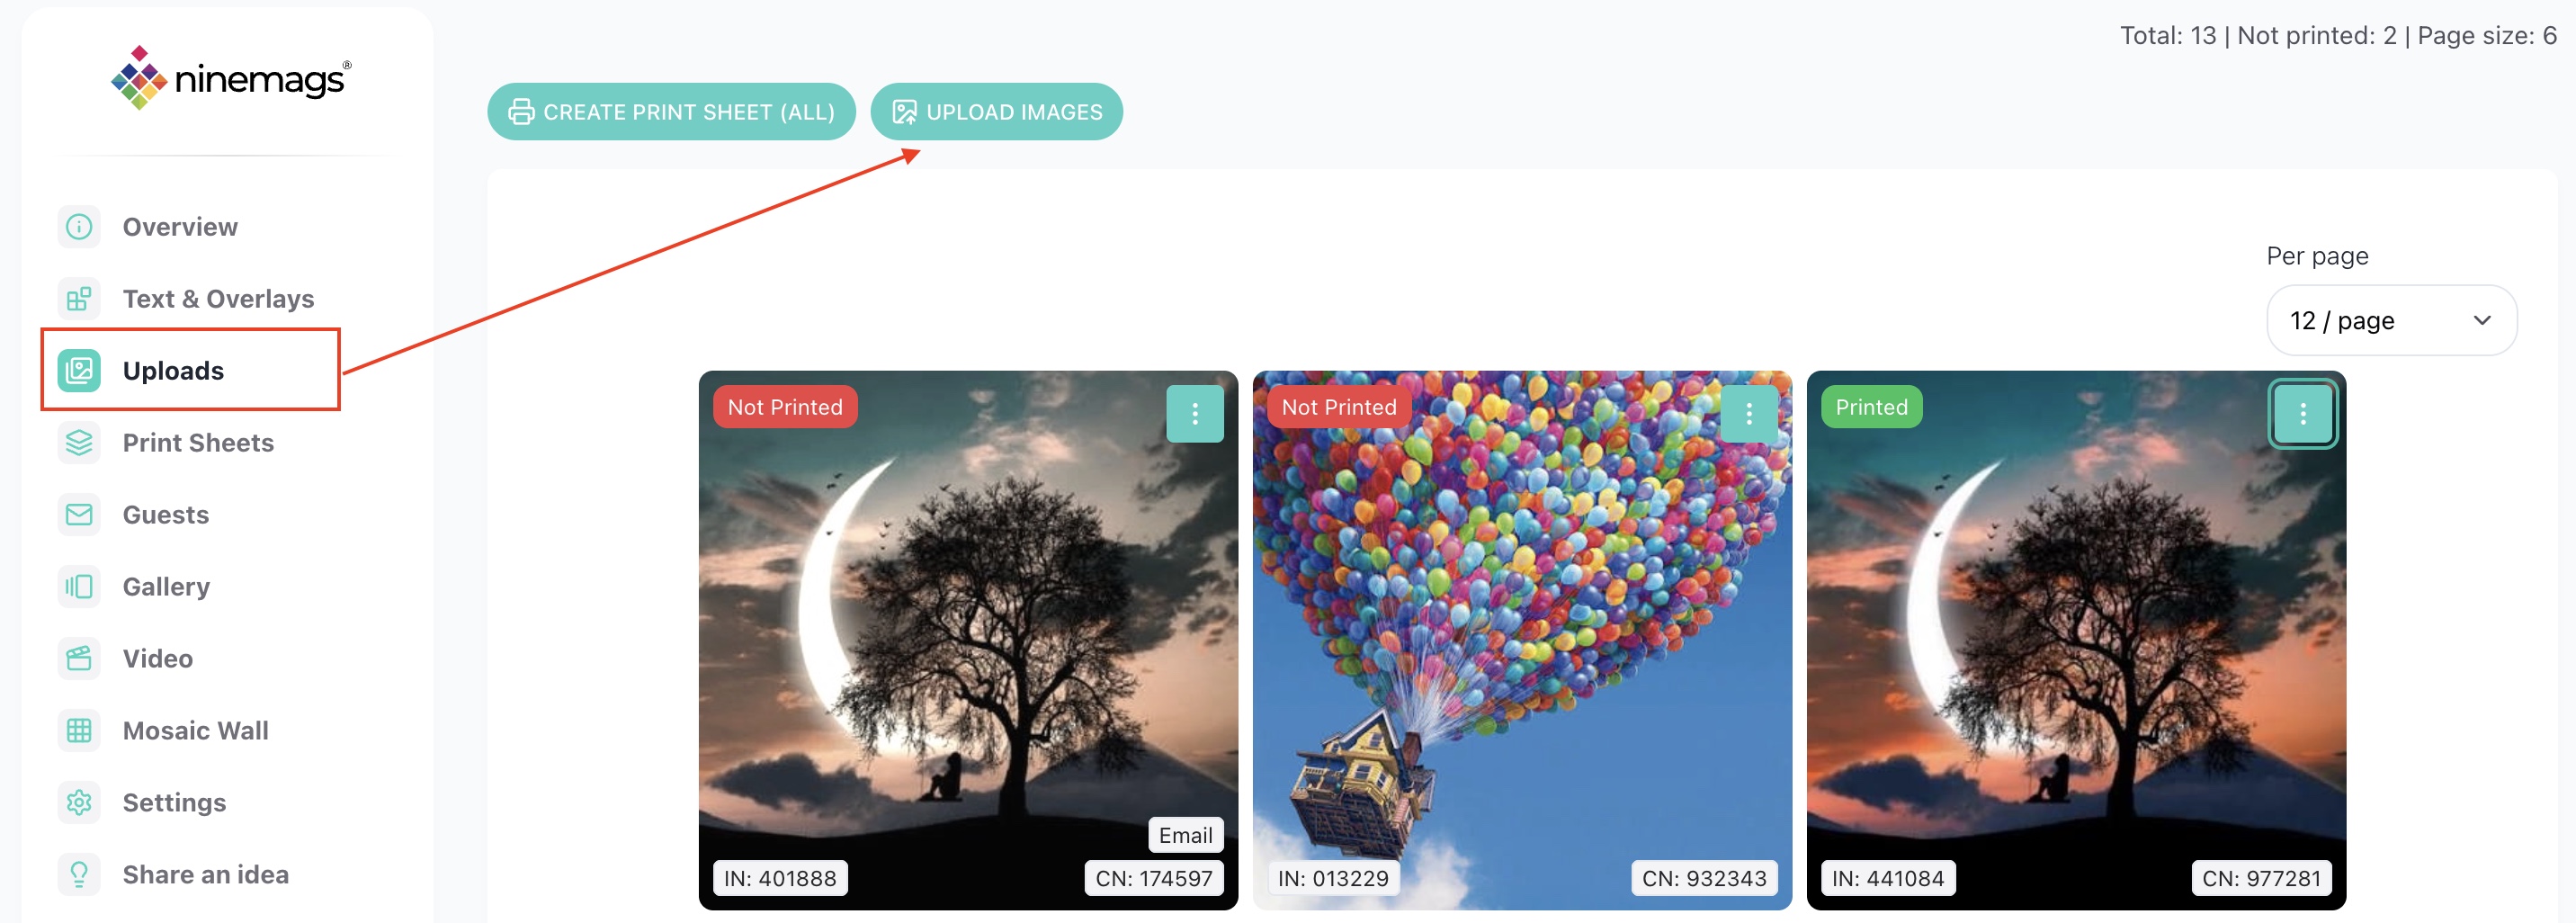
Step 3. Select Your Photos
Choose the photos you want to upload from your computer.
If needed, enter an email address to receive a notification when the upload is complete.
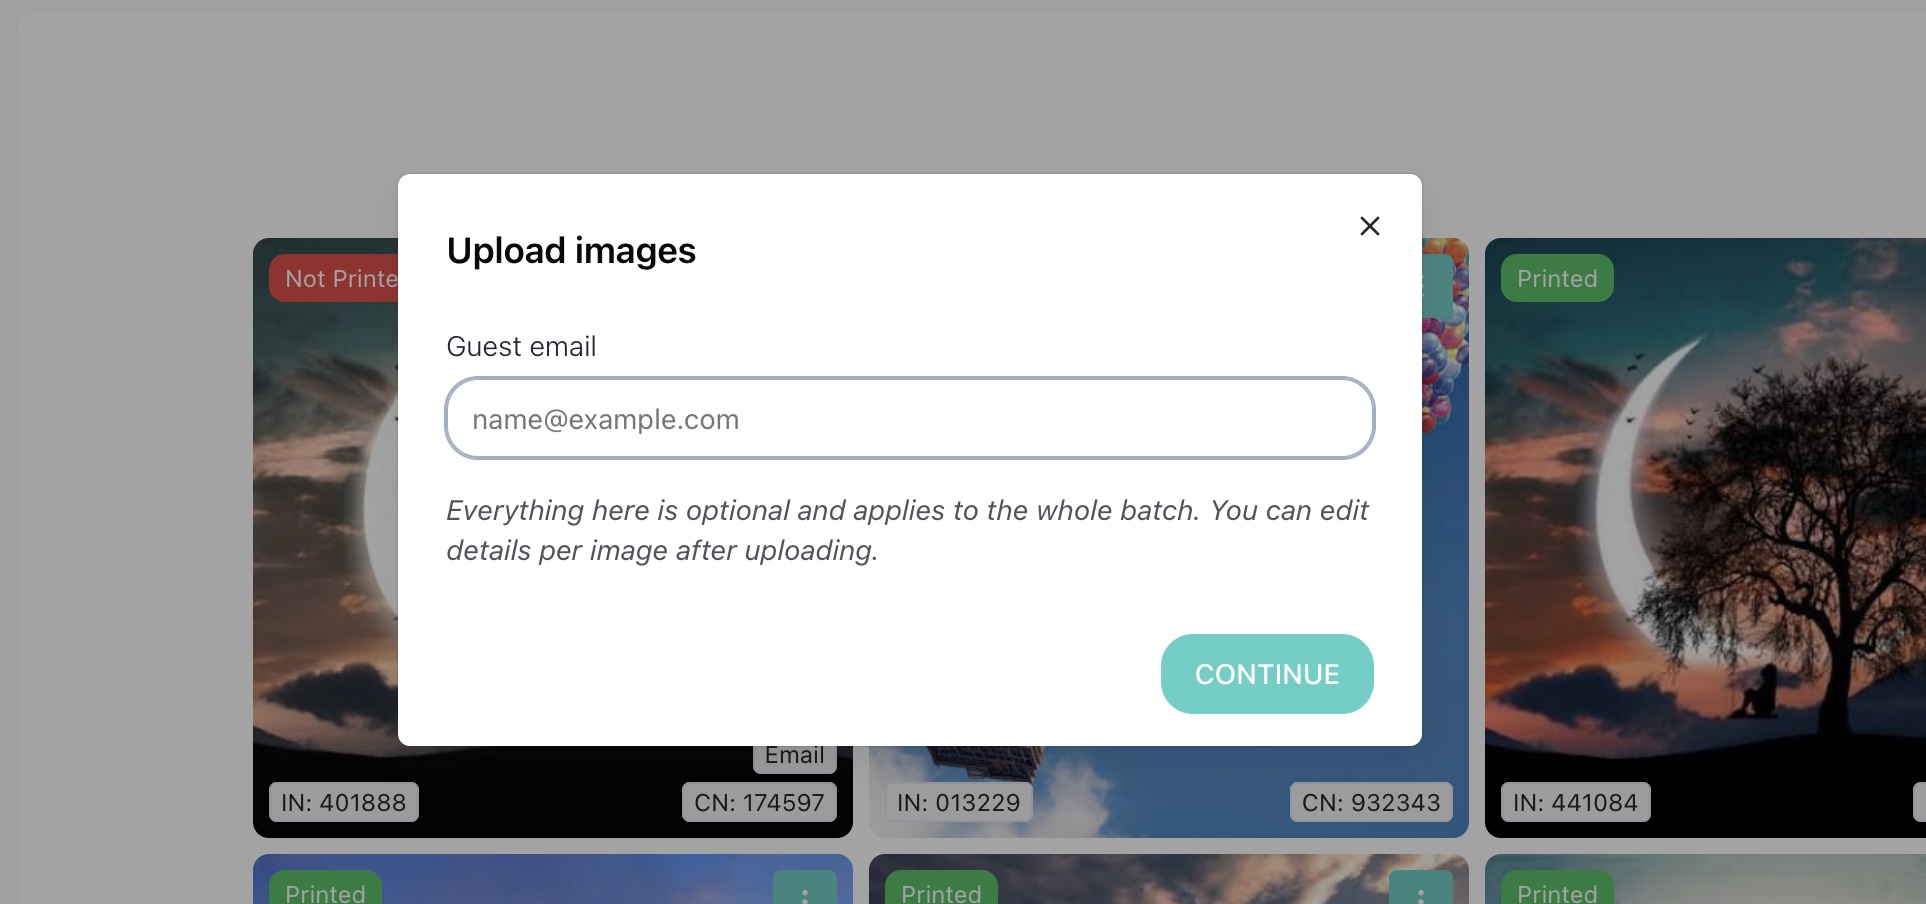
Step 4. Add the Guest Email (Optional)
In the upload window, you can enter the guest’s email address.
This is useful if the uploaded photos belong to one guest and you want to use that email later when sending the “prints are ready” notification.
If you upload photos for multiple guests, you can leave this field empty and edit the details for each image after uploading.
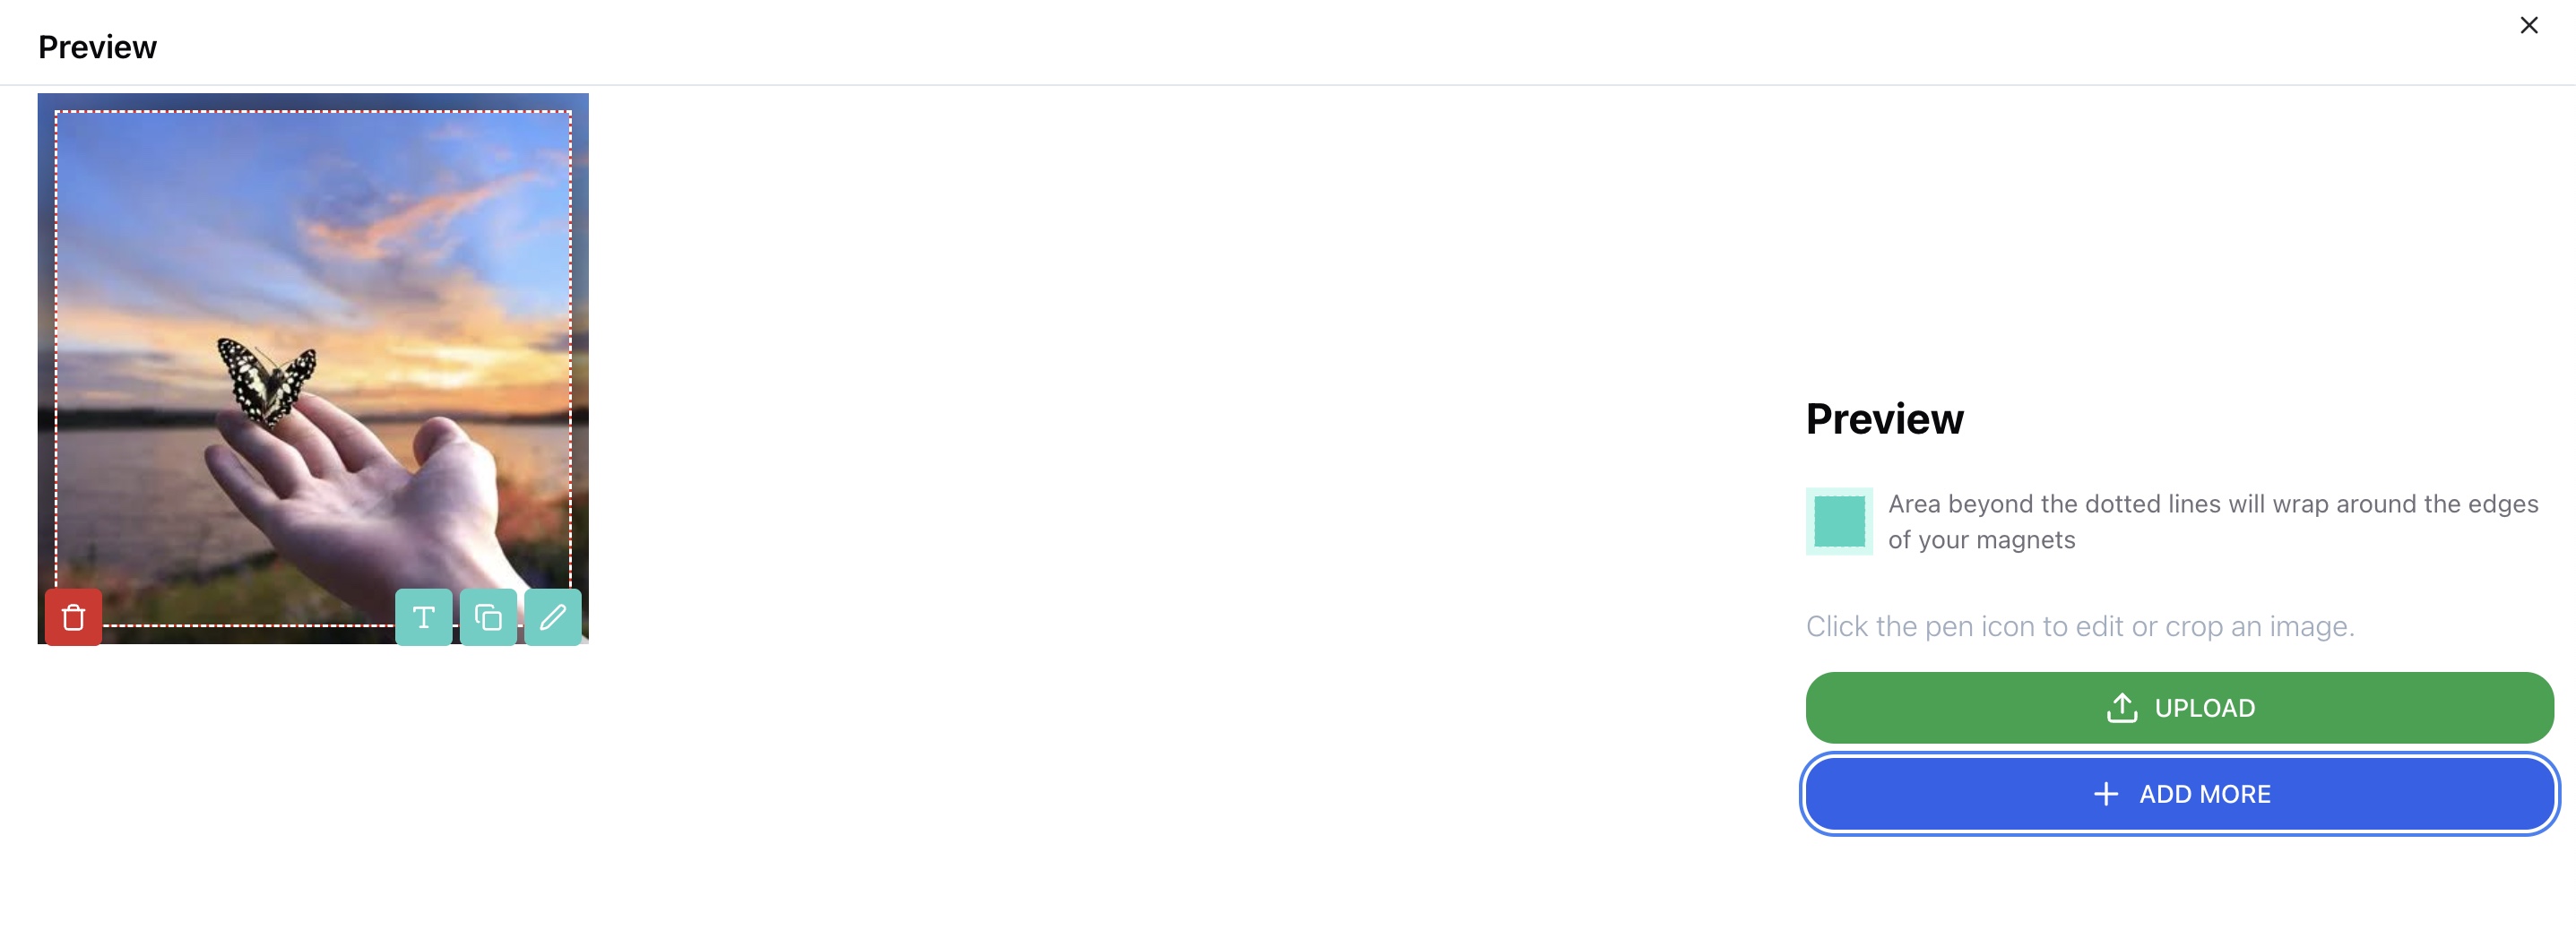
Step 5. Start the Upload
Click Upload.
Wait until the upload is complete.
Done!
Your photos are now uploaded directly to the event.
Guests do not need to open the upload link or upload the photos themselves.
This workflow is especially useful when a photographer or event organizer is managing the photos for the whole event.