-2-(3).png)
How to create a new Event
NINEMAGS Live offers three simple ways to create a new Event.
All methods lead to the same Event Creation form, so you can use whichever is most convenient.
Method 1 — From the Dashboard
- Open the Dashboard.
- In the Next Event section, click Create Event.
- You will be taken to the Event Creation screen.

Method 2 — From the Calendar
- On the Dashboard, scroll down to the Event Calendar.
- Hover over the date you want to create an event for.
- Click the “+” button that appears on that date.
- The Event Creation form will open with the selected date pre-filled.

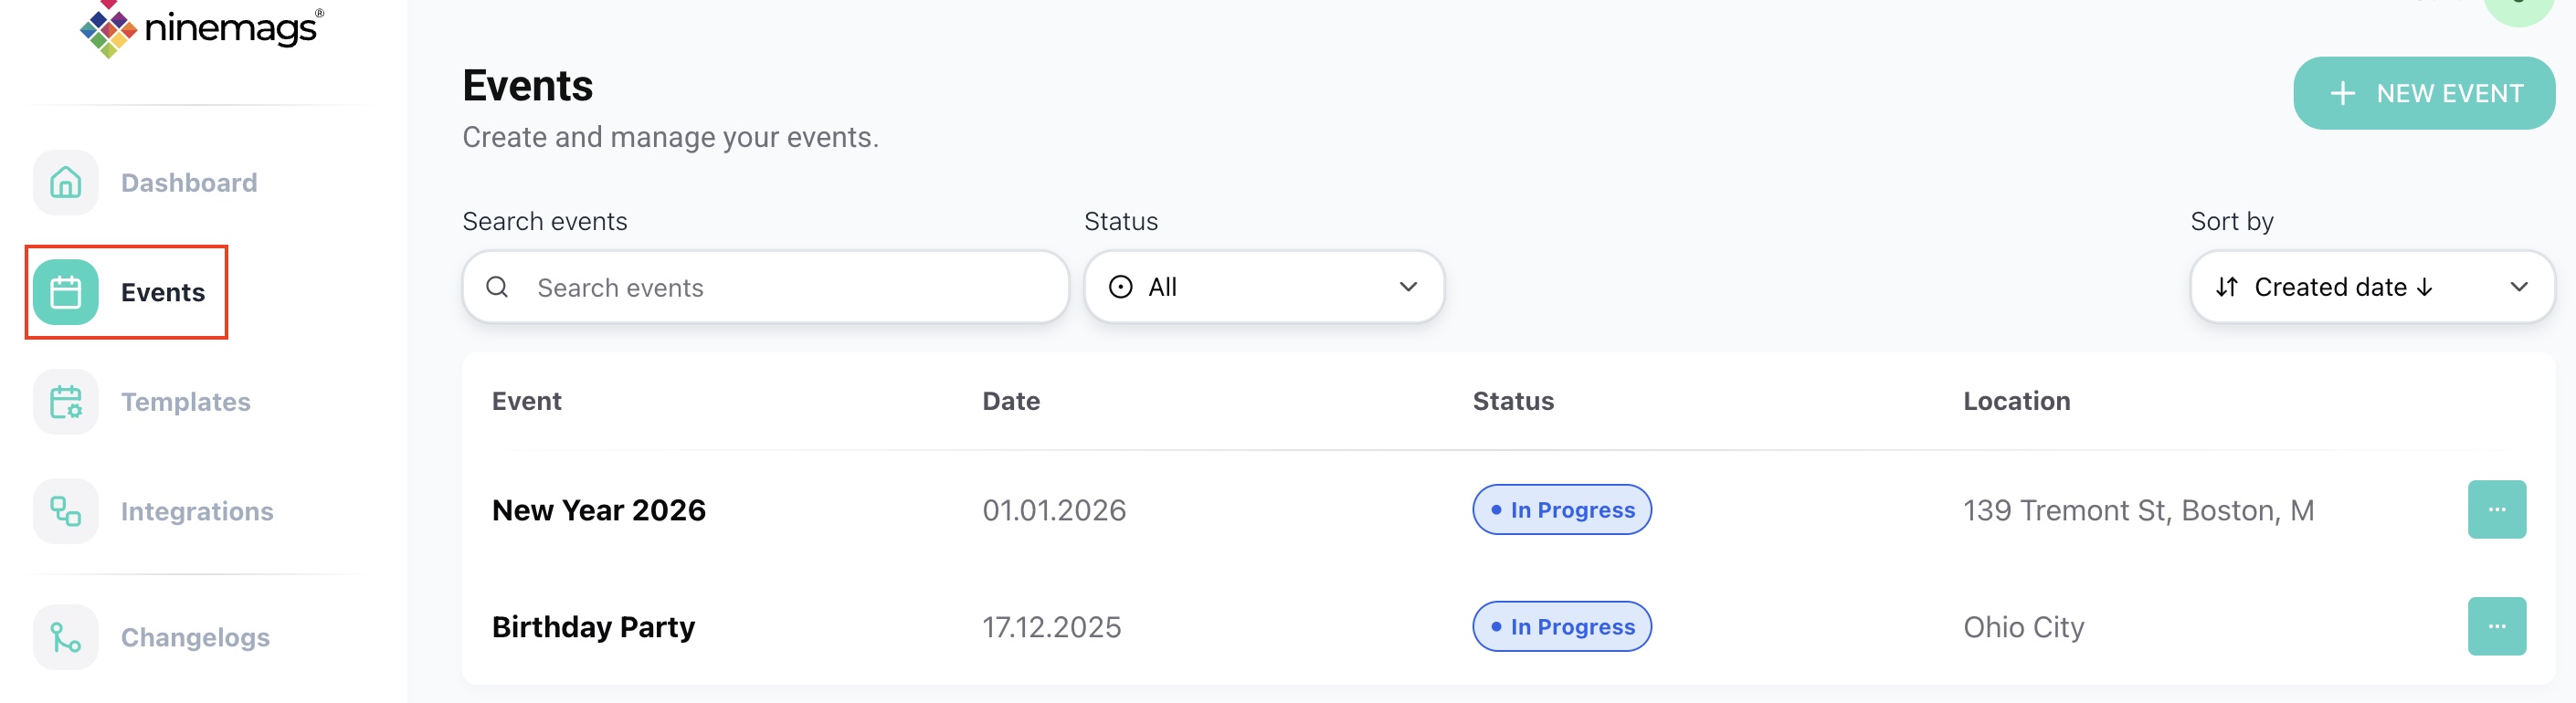
Method 3 — From the Events Page
- Open Events from the left sidebar.
- Click New Event in the top-right corner.
- The Event Creation form will open.

Step 1 — General Information
In the New Event window, fill in the basic event details:
-
Template (optional) — select a template if you want to apply pre-configured event settings
(You can also leave this as “No template” and configure everything manually later.)
- Name — event name
- Date — event date
- Location — event location or venue (optional)
- Description — short description of the event (optional)
Click Next to continue.

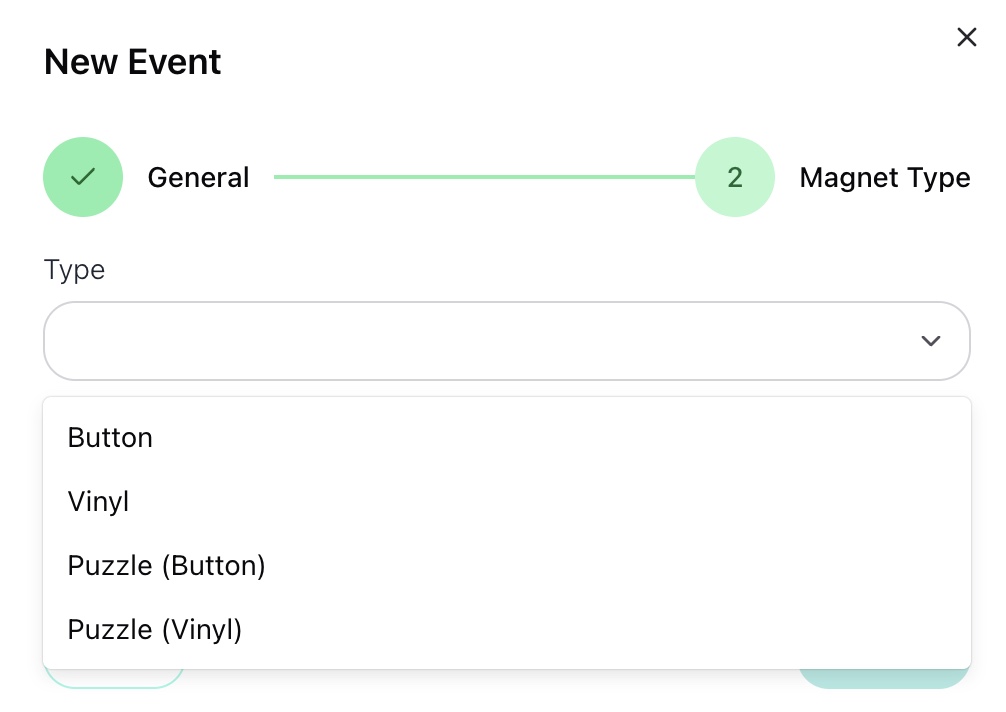
Step 2 — Magnet Type
Choose the print and product settings for your event:
-
Type — product type (for example, Button or Magnet)
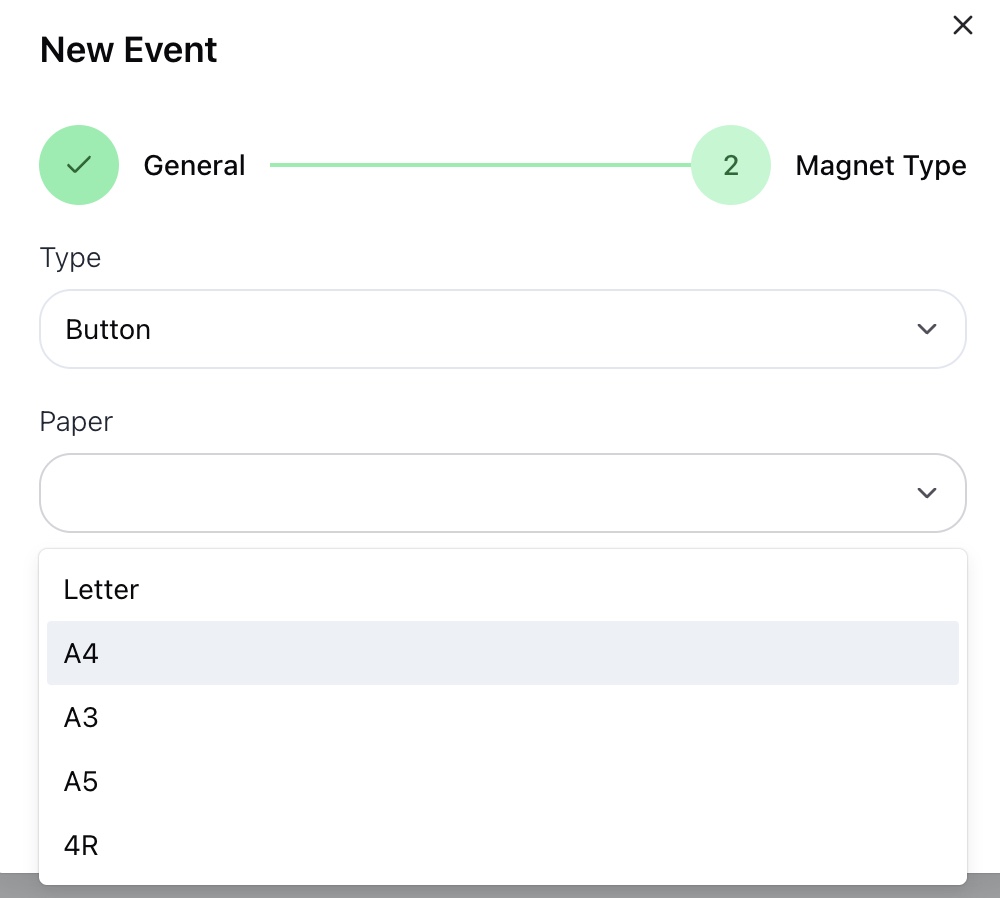
-
Paper — paper format
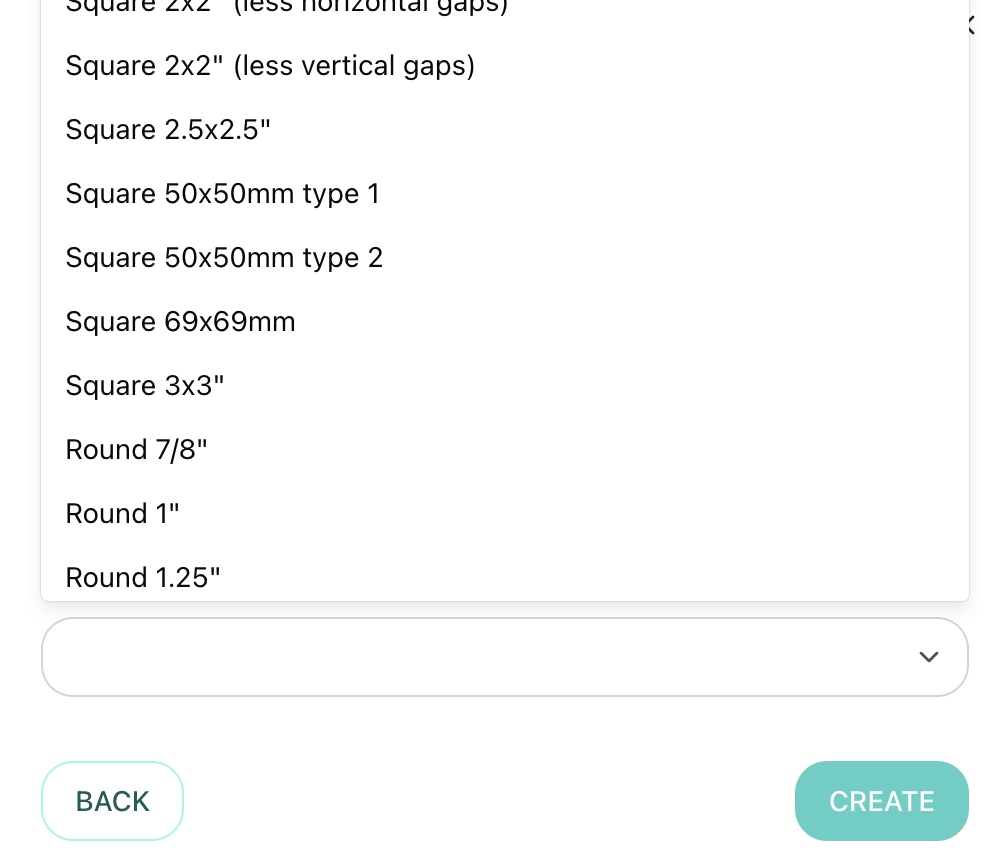
-
Size — product size


If you selected a template in Step 1, some of these settings may already be pre-filled.
When everything is ready, click Create.

Done
Once the event is created, it will appear in the Events list.
For each event, you will see:
- event name
- date range
- current status (for example, Not Started or In Progress)
-
location (if provided)

You can now:
- edit the event,
- start or finish it,
- or delete it if it’s no longer needed.
