-2-(3).png)
Installing NINEMAGS in Shopify
This guide explains how to install the NINEMAGS® app in your Shopify store, what permissions are required, where to find the app after installation, and what changes in your store once the app is installed.
Step 1. Open the NINEMAGS connection page
-
Go to:
-
Open the Shopify Guide section:
-
Select NINEMAGS® Uploader .
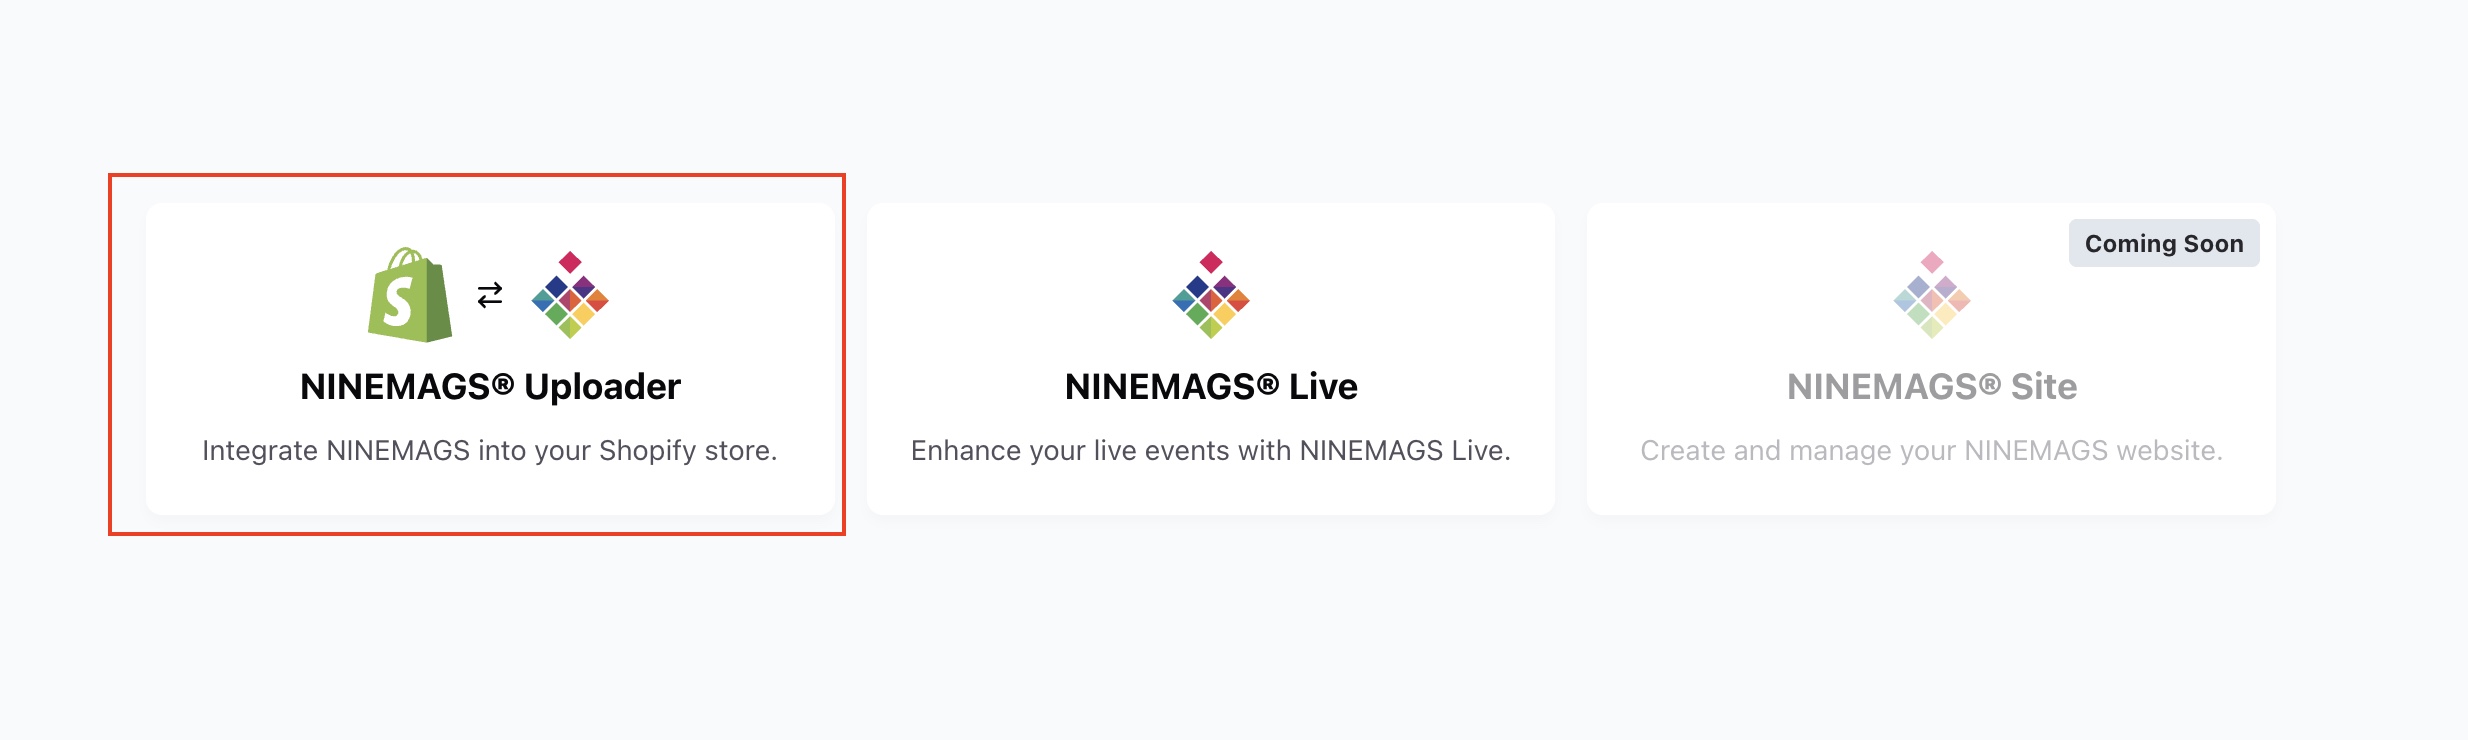

This is the starting point for connecting your Shopify store to NINEMAGS.
Step 2. Fill out the connection form
To begin the setup, you need to complete a short connection form.
This allows NINEMAGS to correctly match your Shopify store with your NINEMAGS account.

Required fields:
-
Shopify ID
Your Shopify ID is a unique identifier of your store.
Method 1 (Recommended):
- Log in to your Shopify admin.
- Look at the browser address bar.
-
If your URL looks like this:
https://admin.shopify.com/store/custom-app-m/→ custom-app-m is your Shopify ID.
Method 2 (Alternative):
- Log in to Shopify admin.
-
Go to Settings (bottom-left corner).
-
At the top of the page you will see your Shopify store URL, for example:
https://custom-app-m.myshopify.com→ custom-app-m is your Shopify ID.


-
Domain
Enter your store domain without a slash at the end.
✅ Correct:
https://mymagnets.com
❌ Incorrect:
https://mymagnets.com/
-
Store Name
Enter any clear and recognizable name for your store.
After filling in all fields, click Connect.
Step 3. Confirm successful Shopify connection
If all data was entered correctly, you will see a confirmation screen with:
- Store Name
- Shopify ID
- Status: Shopify Connected
This means your Shopify store is successfully linked to NINEMAGS.

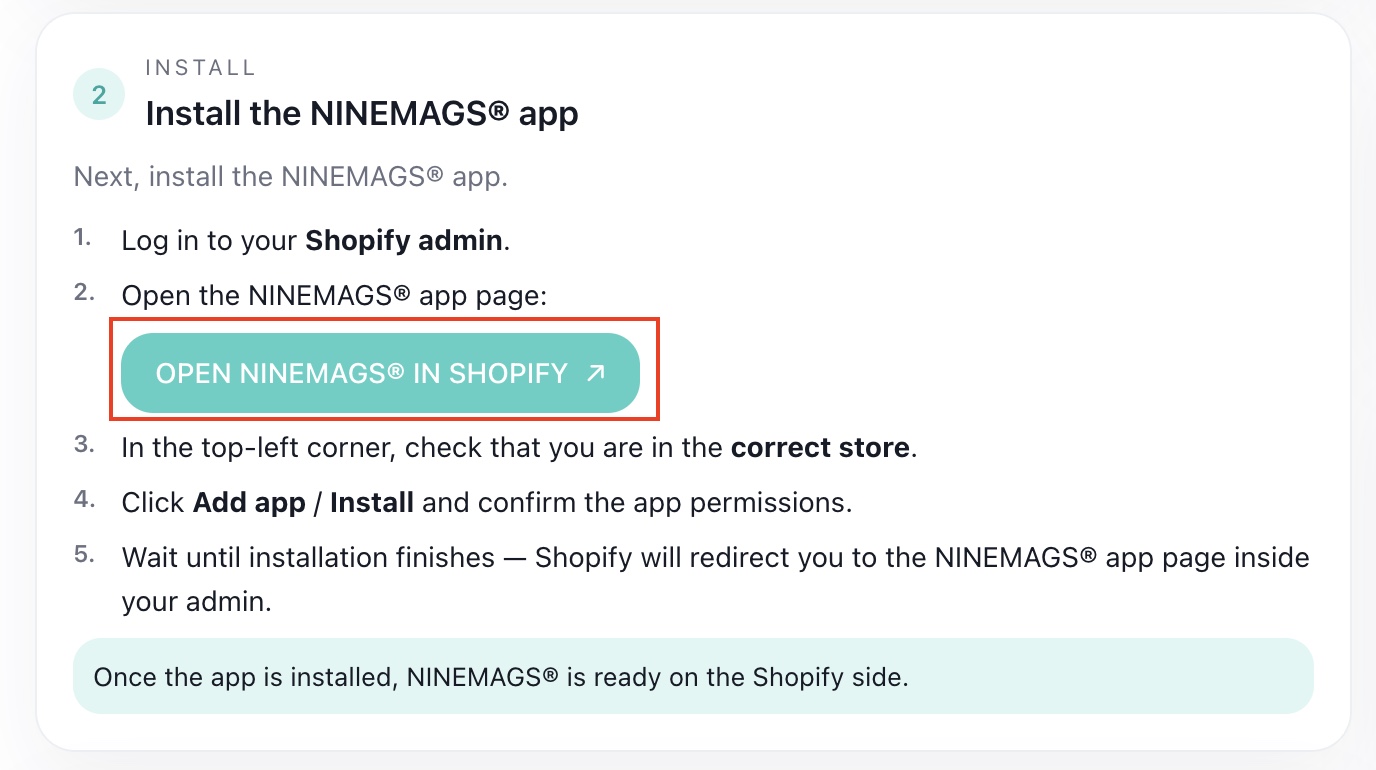
Step 4. Install the NINEMAGS app in Shopify
Next, install the app in your Shopify admin.
- Log in to your Shopify admin.
-
On the Shopify Guide page, click Open NINEMAGS® in Shopify.
-
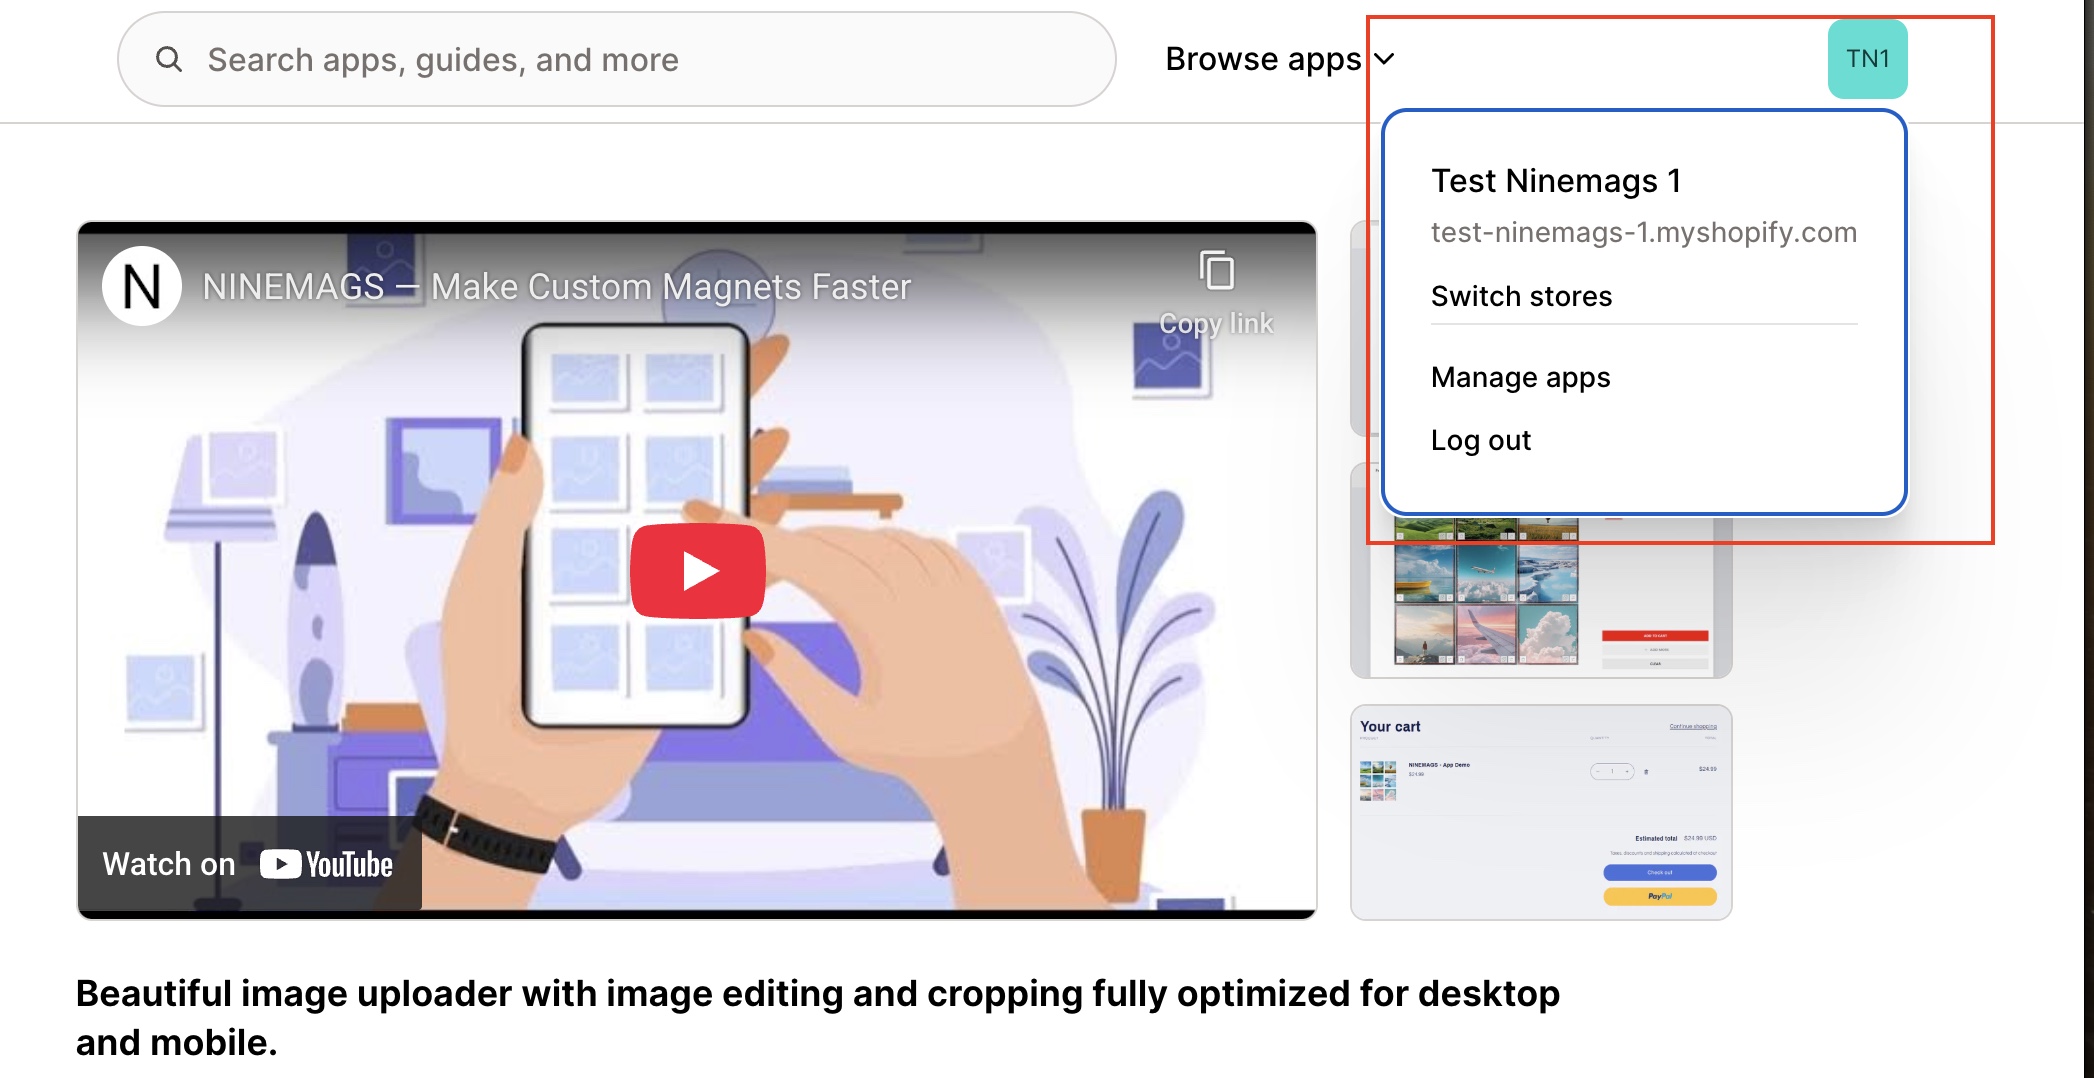
In the top-right corner, make sure you are logged into the correct store.
-
Click Open.
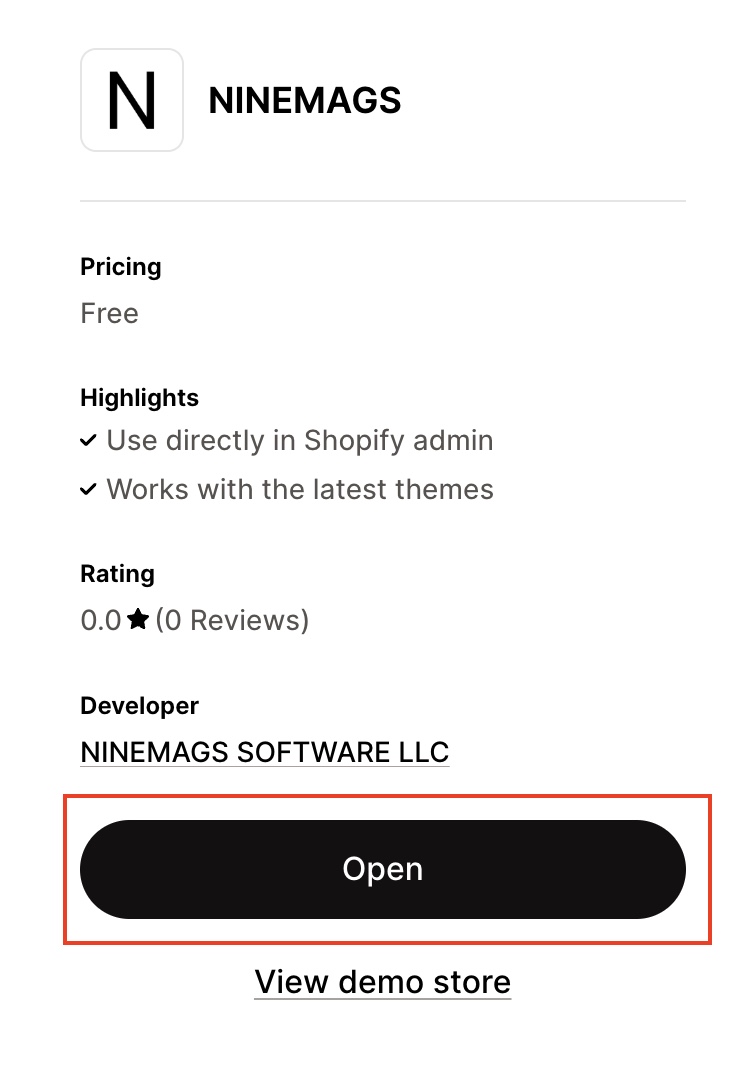
- The NINEMAGS app will open directly inside your Shopify store.


How to confirm everything is connected correctly
On the main NINEMAGS screen, check the Info panel on the right side:
- Dropbox status shows a green indicator
- Dropbox folder is displayed
- Connected domain matches your Shopify store domain
If all these values are visible and correct, the app is successfully installed and connected — everything is set up correctly ✅

At this point, NINEMAGS is fully ready on the Shopify side, and you can proceed with product setup.
Step 5. Accept the collaboration request (Optional but recommended)
After submitting the connection form, the NINEMAGS team may send you a collaboration request from
NINEMAGS SOFTWARE LLC.
How to accept it:
- Log in to Shopify admin.
-
Go to:
Settings → Users and Permissions → Collaborators
- Find the request from NINEMAGS SOFTWARE LLC.
- Click Accept.
Once accepted, NINEMAGS SOFTWARE LLC will appear in your collaborators list.
Why this access is needed
This access allows the NINEMAGS team to:
- Assist with setup
- Troubleshoot issues
- Provide faster technical support when needed
📌 The access is used only for support and technical assistance.
What changes in your store after installation
After installing NINEMAGS:
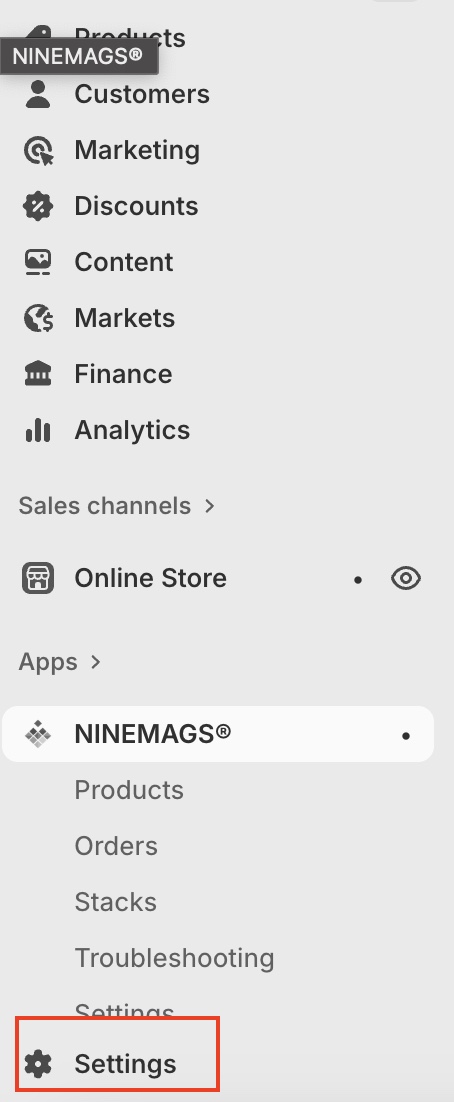
- The NINEMAGS app appears in Apps inside Shopify admin
- Products can be connected to NINEMAGS
- Image upload functionality becomes available on supported products
- Orders with uploaded images are processed through NINEMAGS automatically
No visible changes are made to your storefront until products are configured.

Summary
✔ Shopify store connected
✔ NINEMAGS app installed
✔ Correct store verified
✔ Optional support access granted
Your store is now ready for the next steps: product setup and configuration in NINEMAGS.