-2-(3).png)
How to Use Image Presets
Image Presets allow you to adjust brightness and contrast of images to improve print quality.
This is useful if your prints:
- look too bright
- lose contrast
- appear washed out
With Image Presets, you can correct these issues directly in NINEMAGS without using external tools.
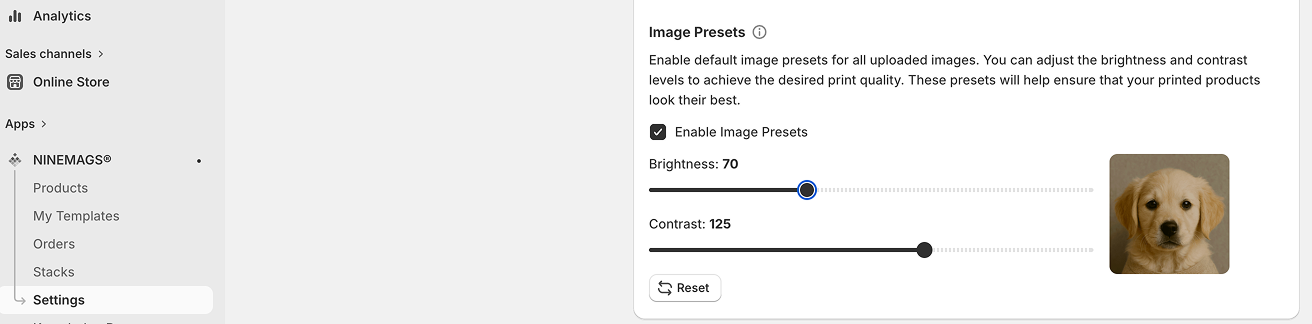
How to Enable Image Presets
- Open your NINEMAGS dashboard
- Go to Settings
- Find the Image Presets section
- Enable “Enable Image Presets”
- Adjust: Brightness and Contrast
-
Save your settings

How It Works
- Settings are applied at the store level
- They automatically apply to all products
- No need to configure each product separately
Important
Image Presets apply only to the final print-ready files.
This means:
- Customer uploaded images remain unchanged
- Preview remains unchanged
- Files inside Shopify orders are not modified
- Customers always see their images in original quality
Adjustments are applied only when generating files for printing.
Buy Now / Upload Later
If you are using a flow where:
- a customer purchases a product first
- and uploads images later
then the following applies:
- Image Presets are applied at the moment of upload and file generation
- If you change the settings after the purchase, the new settings will be used when the customer uploads their images
Tips for Best Results
- If prints are too bright, reduce brightness
- If images look flat, increase contrast
- Start with small adjustments and test on a few prints
Reset Settings
You can use the Reset button to return to default values at any time.
